In this article, we will learn about Laravel API.
Laravel is a popular PHP framework that is widely used for web application development. One of its main strengths is the ability to easily build and maintain APIs. APIs, or Application Programming Interfaces, allow different applications to communicate with each other, making it possible to create complex web applications that rely on multiple services.
Before starting let’s check What is an API?
API stands for “Application Programming Interface”. It is a set of routines, protocols, and tools for creating software applications. An API interface makes communication possible between various software components.
We’ll build REST API using Laravel.
REST API is the interface that allows mobile devices and web browsers (or also other web servers) to CRUD (create, read, update and delete) resources in the server respecting the REST rules (such as being stateless).
Create a project using Laravel API
Follow the below steps to set up Laravel API. You should have preinstalled composer and local servers like Wamp, Xampp, or Laragon.
Step 1: Go to the root directory of the local server and run “composer create-project –prefer-dist laravel/laravel laravelapi” command. It will create “laravelapi” directory and install the Laravel project. see the below screenshot for the installation process from the terminal.
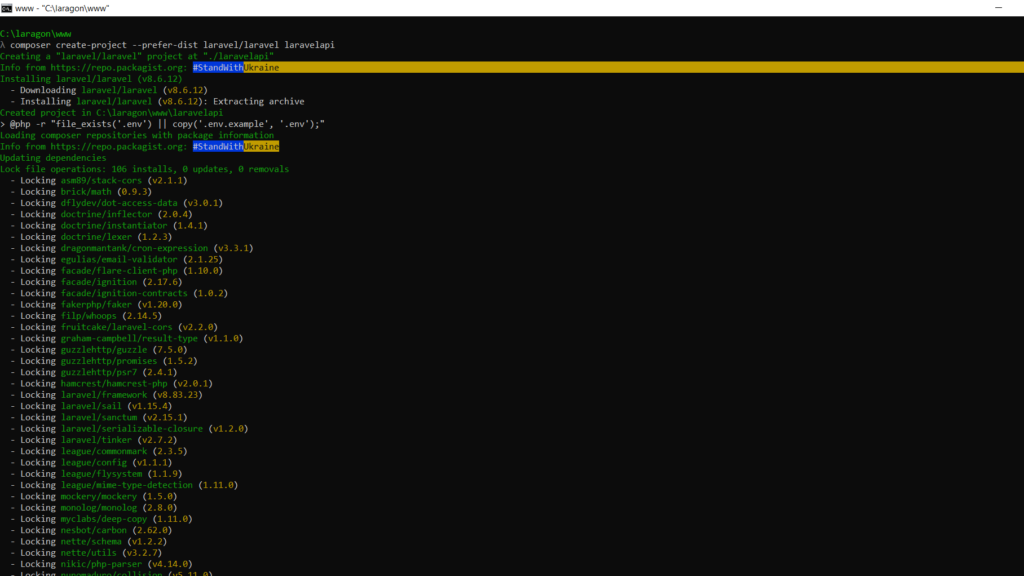
Step 2: Once the Laravel project is installed as per the above step, go to the project directory on the terminal by running “cd laravelapi” command and run the project in your browser by entering “php artisan serve” command in your terminal. Then open the URL like “http://localhost/laravelapi/public/” or “http://127.0.0.1:8000/” URL in the browser as shown below screenshot to display the project.
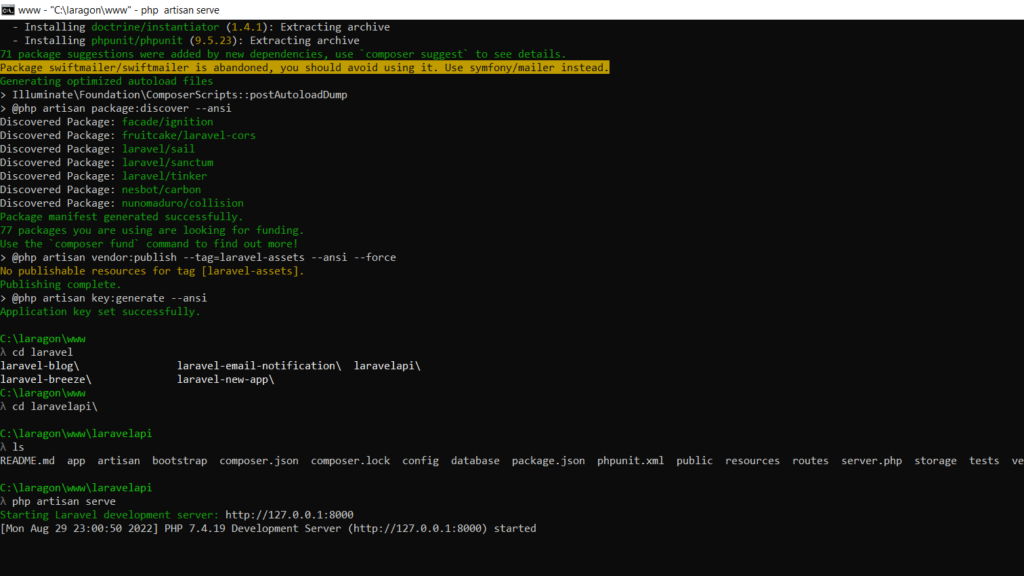
You will see a page something like the below screenshot
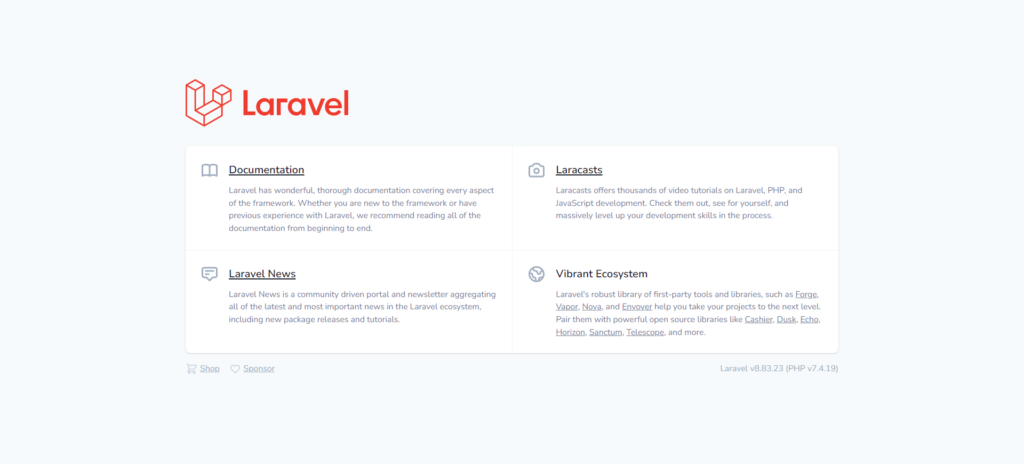
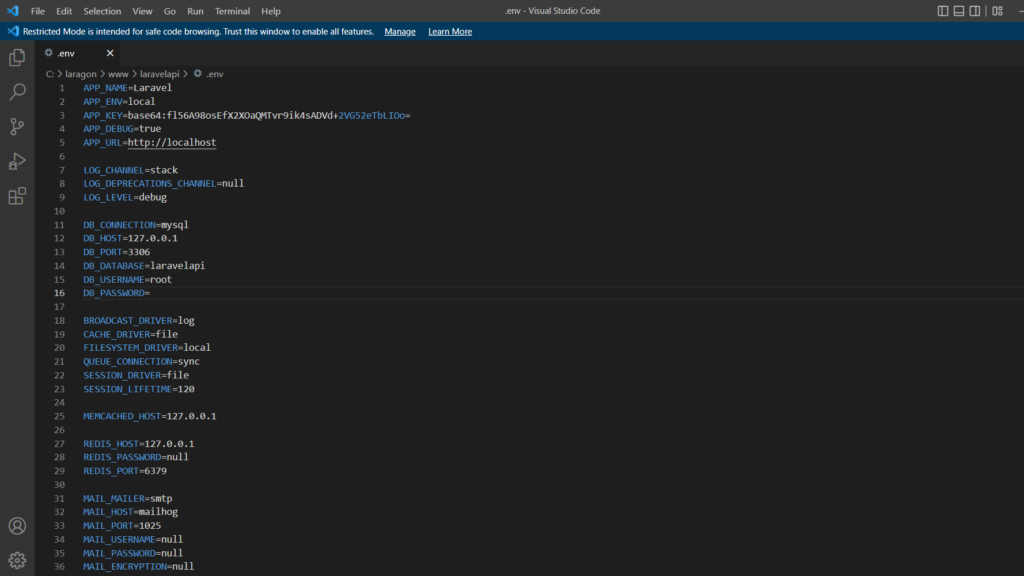
Step 3: Basic Laravel application is ready. Now, we need to connect the Laravel app with the database. you need to open the “.env” file from the Laravel project root directory. you will see a screen something like the below screenshot. We’re using MySQL as a database. so, we edit the following line and save it to connect the project with MySQL
DB_CONNECTION=mysql
DB_HOST=127.0.0.1
DB_PORT=3306
DB_DATABASE=laravelapi
DB_USERNAME=root
DB_PASSWORD=
Step 4: Let’s create a model. run “php artisan make:model Article -m” command in your terminal and it will create an “Article.php” file in the “app/Models” directory. We will edit the file and change the code below.
<?php
namespace App\Models;
use Illuminate\Database\Eloquent\Factories\HasFactory;
use Illuminate\Database\Eloquent\Model;
class Article extends Model
{
    use HasFactory;
    protected $fillable = ['title', 'body'];
}
In the above command, The -m option is short for --migration and it tells Artisan to create one for our model. Here’s the generated migration. you can find it on “C:\laragon\www\laravelapi\database\migrations” directory with file name like “2022_08_29_173518_create_articles_table.php”. see below for modified code :
<?php
use Illuminate\Database\Migrations\Migration;
use Illuminate\Database\Schema\Blueprint;
use Illuminate\Support\Facades\Schema;
class CreateArticlesTable extends Migration
{
    /**
     * Run the migrations.
     *
     * @return void
     */

    public function up()
    {
        Schema::create('articles', function (Blueprint $table) {
            $table->id();
            $table->string('title');
            $table->text('body');
            $table->timestamps();
        });
    }
    /**
     * Reverse the migrations.
     *
     * @return void
     */

    public function down()
    {
        Schema::dropIfExists('articles');
    }
}
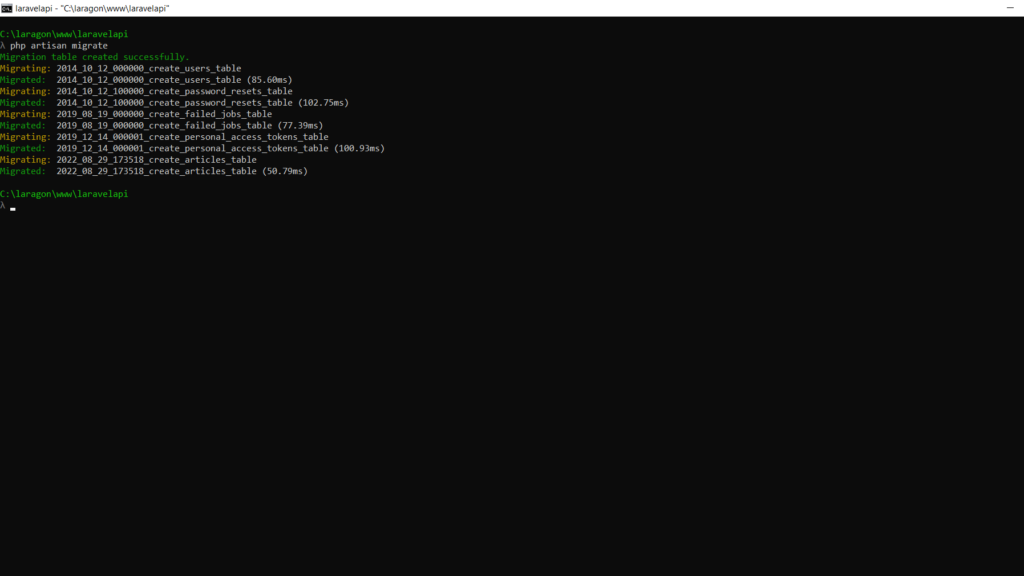
Step 5: After modifying the model and migration file as per the above code, Run “php artisan migrate” command in your terminal to migrate tables to the MySQL database. see the below screenshot.
Step 6: Tables are created on the database as per the above step. Now, We’ll use database seeding to create dummy data in database tables for testing the app. we will run two commands for the user and article table. Let’s run “php artisan make:seeder ArticlesTableSeeder” and “php artisan make:seeder UsersTableSeeder” in your terminal. this will create “ArticlesTableSeeder.php” and “UsersTableSeeder.php” file in “C:\laragon\www\laravelapi\database\seeders” directory. Let’s modify the code:
<?php

namespace Database\Seeders;
use Illuminate\Database\Seeder;
use Illuminate\Support\Facades\DB;
use App\Models\Article;
class ArticlesTableSeeder extends Seeder
{

    /**
     * Run the database seeds.
     *
     * @return void
     */

    public function run()
    {
        Article::truncate();
        $faker = \Faker\Factory::create();
        for ($i = 0; $i < 50; $i++) {
            Article::create([
                'title' => $faker->sentence,
                'body' => $faker->paragraph,
            ]);
        }
    }
}
<?php

namespace Database\Seeders;
use Illuminate\Database\Seeder;
use Illuminate\Support\Facades\Hash;
use App\Models\User;

class UsersTableSeeder extends Seeder
{
    /**
     * Run the database seeds.
     *
     * @return void
     */

    public function run()
    {
        //
        User::truncate();
        $faker = \Faker\Factory::create();
        // Let's make sure everyone has the same password and
        // let's hash it before the loop, or else our seeder
        // will be too slow.
        $password = Hash::make('laravelapi');
        User::create([
            'name' => 'Administrator',
            'email' => 'admin@laravelapi.com',
            'password' => $password,
        ]);

        // And now let's generate a few dozen users for our app:

        for ($i = 0; $i < 10; $i++) {
            User::create([
                'name' => $faker->name,
                'email' => $faker->email,
                'password' => $password,
            ]);
        }
    }
}
Once, both seeder files modified as shown above, run “php artisan db:seed –class=ArticlesTableSeeder” and “php artisan db:seed –class=UsersTableSeeder” seed command in your terminal. you can see a list of dummy data added to both article and users table on the database.
Step 7: Let’s create a controller for articles. Run the “php artisan make:controller ArticleController” command in your terminal and it will automatically create a file called “ArticleController.php” inside “C:\laragon\www\laravelapi\app\Http\Controllers” directory. We have modified the controller file to run different functions based on endpoints from routes. update code as below for the controller file.
<?php

namespace App\Http\Controllers;
use App\Http\Controllers\Controller;
use App\Models\Article;
use Illuminate\Http\Request;

class ArticleController extends Controller
{
    public function index()
    {
        return Article::all();
    }

    public function show(Article $article)
    {
        return $article;
    }

    public function store(Request $request)
    {
        $article = Article::create($request->all());
        return response()->json($article, 201);
    }

    public function update(Request $request, Article $article)
    {
        $article->update($request->all());
        return response()->json($article, 200);
    }

    public function delete(Article $article)
    {
        $article->delete();
        return response()->json(null, 204);
    }
}
Step 8: Let’s create the basic endpoints for our application: create, retrieve the list, retrieve a single one, update, and delete. On the “api.php ” file inside “C:\laragon\www\laravelapi\routes\” directory, modify file as per below :
<?php

use Illuminate\Http\Request;
use Illuminate\Support\Facades\Route;
use App\Http\Controllers\ArticleController;

/*

|--------------------------------------------------------------------------

| API Routes

|--------------------------------------------------------------------------

|

| Here is where you can register API routes for your application. These

| routes are loaded by the RouteServiceProvider within a group which

| is assigned the "api" middleware group. Enjoy building your API!

|

*/

/*

Route::middleware('auth:sanctum')->get('/user', function (Request $request) {

    return $request->user();

});

*/

Route::get('articles', 'App\Http\Controllers\ArticleController@index');
Route::get('articles/{article}', 'App\Http\Controllers\ArticleController@show');
Route::post('articles', 'App\Http\Controllers\ArticleController@store');
Route::put('articles/{article}', 'App\Http\Controllers\ArticleController@update');
Route::delete('articles/{article}', 'App\Http\Controllers\ArticleController@delete');
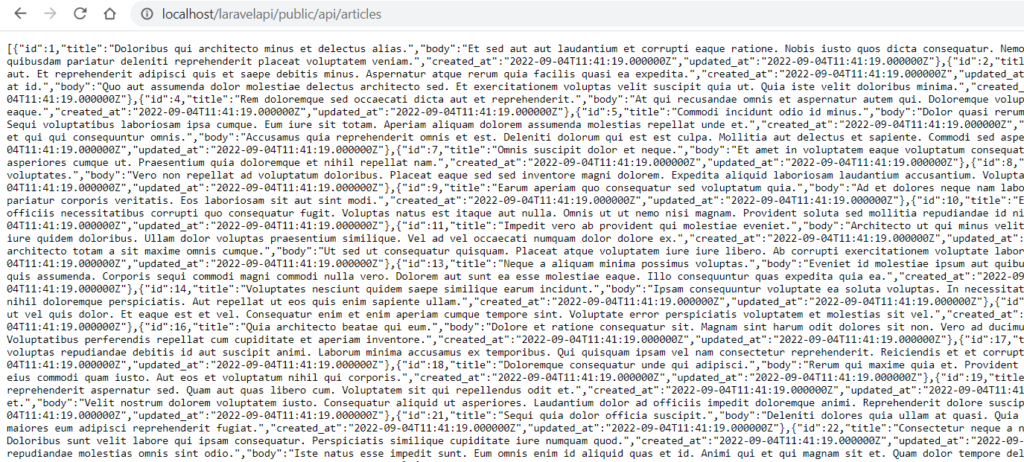
Now, your basic API application is ready. Just run “http://localhost/laravelapi/public/api/articles” or other way is to run “php artisan server” command and run “http://127.0.0.1:8000/api/articles” url in browser. you will see list of articles from database in json format. see below screenshot :
That’s it! Hope this article helps you to create a basic Laravel API.


