In this article, we’ll see a WordPress Introduction.
Table of Contents
What is WordPress?
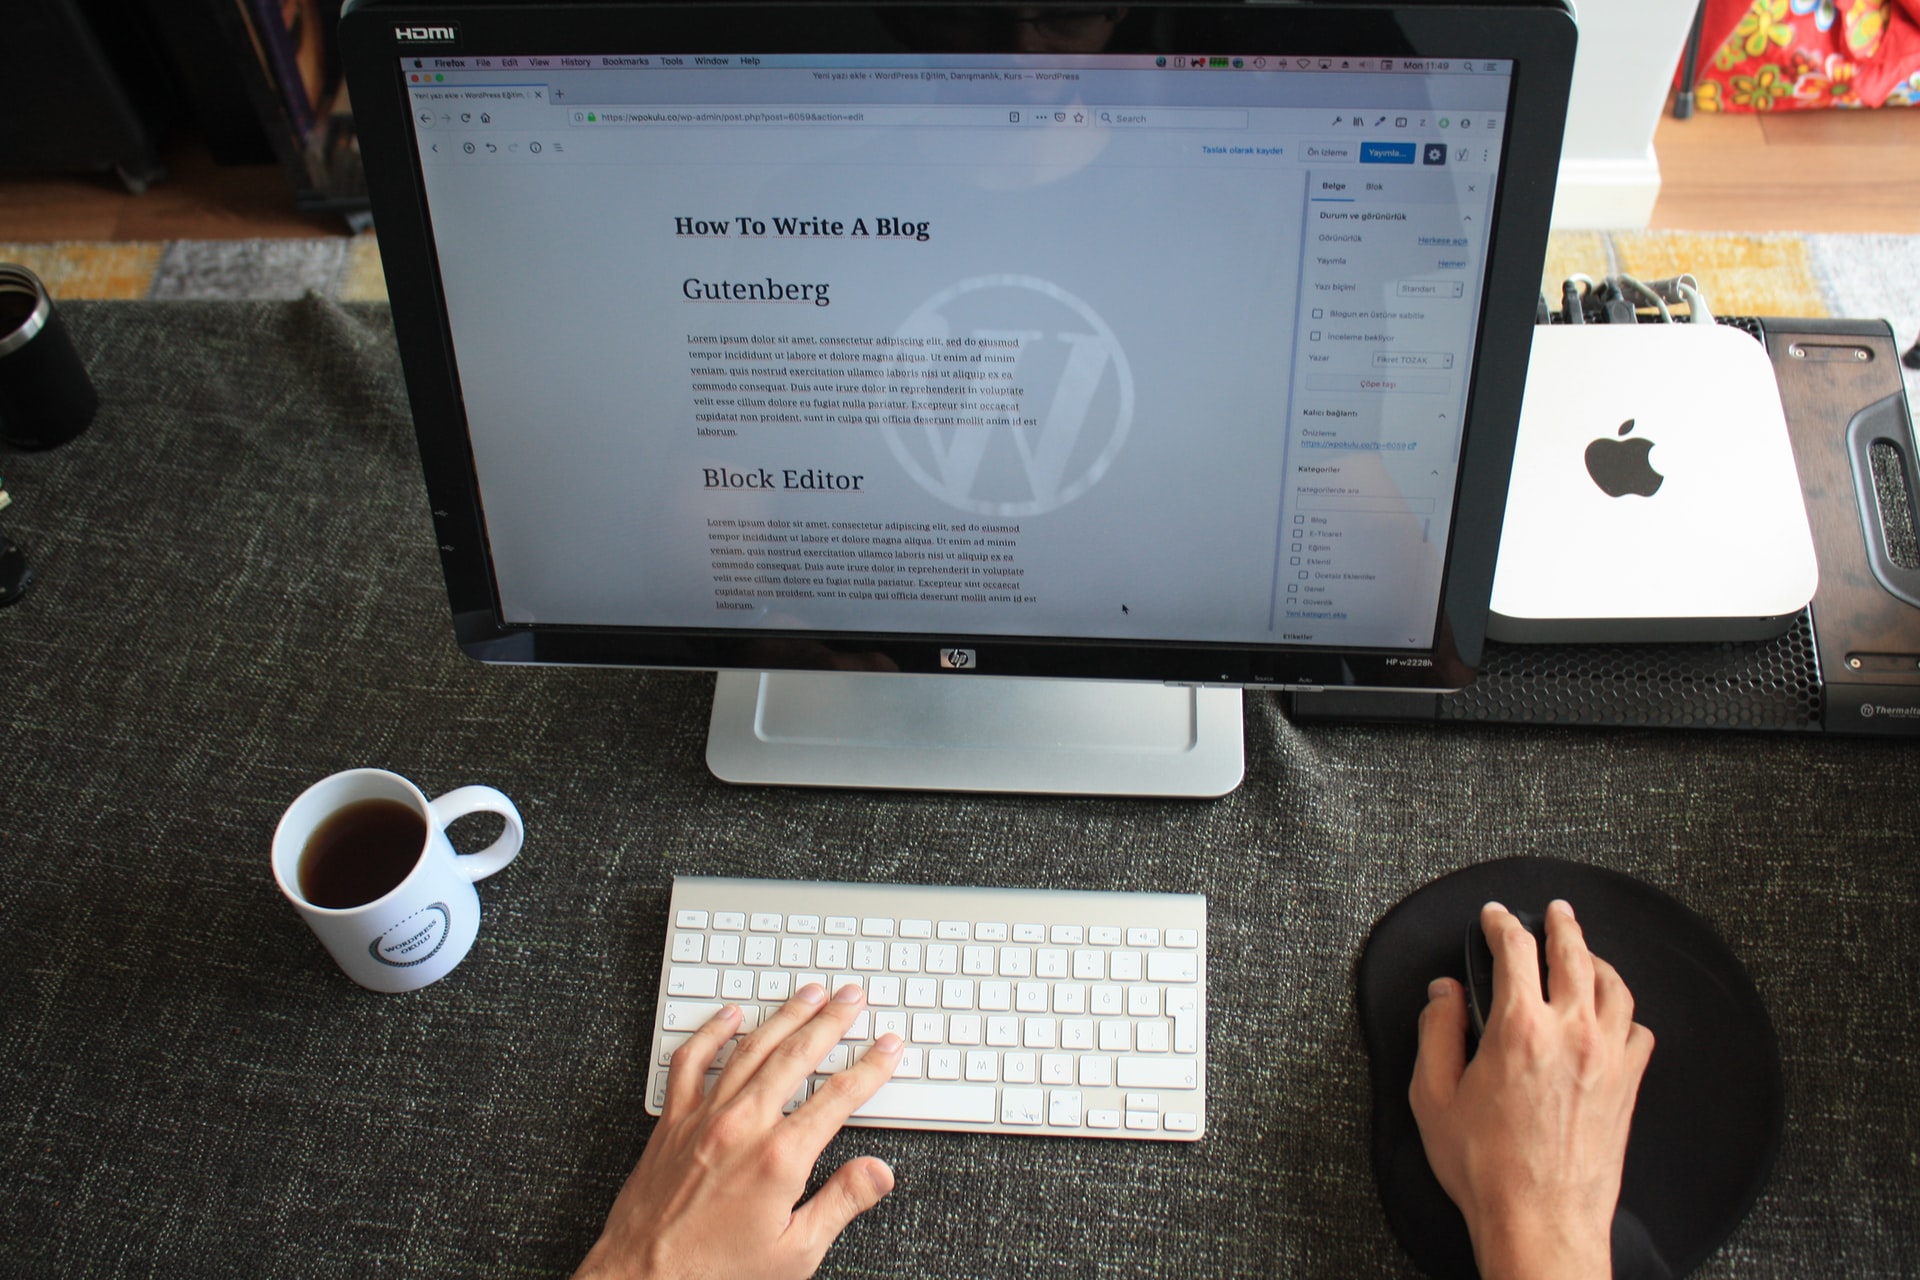
WordPress is an open-source website creation tool written in PHP. But in non-geek speak, it’s probably the easiest and most powerful blogging and website content management system (or CMS).
It is the most popular blogging system in use on the Web. WordPress was used by more than 23.2% of the top 10 million websites.
It is the best for your personal blog or business site. There are thousands of plugins and themes available to transform your site into almost anything you can imagine.
Over 60 million people have chosen It to power their place on the web.
It first appeared in 2003 as a joint effort between Matt Mullenweg and Mike Little to create a fork of b2.[22] Christine Selleck Tremoulet, a friend of Mullenweg, suggested the name WordPress.
Who use It?
You’re in good company if you use WordPress to publish on the web. Many famous blogs, news outlets, music sites, Fortune 500 companies, and celebrities are using WordPress.
For example, famous blogs like Mashable and TechCrunch are both on WordPress. News outlets like The New York Times blogs and CNN’s on-air personality blogs all use WordPress, too.
If you’re ever curious about who uses WordPress, head on over to the WordPress site showcase and you’ll be impressed by the number of well-known sites and famous people using WordPress to power their websites.
How do I get started using WordPress?
WordPress is free. it’s 100% free.
WordPress can be downloaded for self-hosted installations from WordPress.org or it can also be used as a hosted service via WordPress.com.
So, what are you waiting for? Go get WordPress today to start creating your awesome website.
Installing WordPress
There are multiple ways to install WordPress. One way is to set up WordPress on your local computer using some the tools like wamp, XAMPP, or Laragon. Another way is to directly set up WordPress on your hosting account using one-click installers and most hosting websites provide this feature. In this article, we’ll set up WordPress directly on a hosting account. See below :
1) The first thing you need to do is install WordPress on your domain.
If you want your blog to be installed on the root of your domain (abc.com) then you won’t need to do anything prior to installation.
However, if you want your blog to appear inside a folder or on a subdomain (abc.com/blog or blog.abc.com) then you’ll need to insert the name of the folder upon installation.
2) Next, you need to log in to your web hosting account. Almost all regular web hosts have WordPress installers through cPanel or cPanel-like platforms.
Once you sign up for a hosting account, open your cPanel area (or look for the Applications). Under “Blogging” select the option to install WordPress.
Note: If you want your blog to be installed inside a different folder (abc.com/blog), make sure you select the folder prior to installing. By default, the blog will be installed in the root.
3) Follow the prompts and create your password. Be sure to choose a very strong password (10+ characters, upper and lowercase, numbers, symbols, etc.) The number one reason WordPress blogs get hacked is because of weak passwords.
4) WordPress is now installed and you’re ready to begin publishing content. You should now be able to go to the main login area yoursite.com/wp-admin/index.php – Be sure to bookmark this page!
WordPress Useful Terms:
The Admin Panel
Now that you’ve installed WordPress, it’s time to get familiar with the Admin panel. Start by navigating the main tabs on the left side of the screen.
The Dashboard
This is where you can get a quick view of what’s happening with your blog. View recent comments, traffic stats, any theme updates, WordPress news, and more.
Posts
Posts are the primary content of your blog and where you go to add new content. With most WordPress themes, Post content is sorted by date and category by default. So before you begin writing, you may want to take some time to set up some categories for your blog.
Let’s say you have a fashion blog. You could go to the “Categories” section under “Posts” and set up 4 categories – Casual, Formal, Business Casual, and After 5. Now when you begin creating new content, you can select which category the post will fall into.
When you’re ready to create a new post, simply click “Add New” under the “Posts” category. (Make sure the section is expanded by clicking the drop-down arrow next to the category title.)
Media
The media section is where you go to upload images and videos. You can either upload them from this area or you can do it directly from the “Edit Post” area when you’re creating a new post or page.
Links
You can use the Links feature to further organize your content. Let’s say you want 3 of your posts to appear under a heading called “Fashion No-No’s.” You plan to highlight these 3 posts in the navigation of your blog using that heading.
First, you would create a “Link Category” for these pages called “Fashion No-No’s”.
Now go to “Add New” under the “Links” category. For each post you want to appear in this category, you paste the full URL/address of the post and assign it to the “Fashion No-No’s” category.
Now you’ll be able to display this grouping of posts in the navigation of your blog very easily by using the Widgets feature (more on this in a bit.)
I am using the Links feature on my blog. Look in the right column (scroll down) where it says “Must Reads.” This is a Link Category I created for my important posts.
Pages
You may remember that Posts are automatically displayed on your blog in chronological order. Pages are for timeless content that you want to display indefinitely. An About Me or Contact Us page would be an example of an instance when you’d want to create a page.
Comments
The Comments area allows you to view, edit, and delete visitor comments.
Appearance
This is where you manage the overall and look and feel of your blog.
Themes
A WordPress theme is a tool to change the layout and design of your website. Themes customize the appearance of your site, including the layout, typography, color, and other design elements.
Widgets
Widgets allow you to easily arrange various elements of your blog. Remember when I explained how to create the Link Category of “Fashion No-No’s” above? Well you can look for the “Links” Widget and drag it onto your sidebar to display this link category on your blog.
You can do the same for other widgets such as the Calendar, Categories, Archives, etc. Once you drag the widget over to the sidebar of your blog, you can edit the title, text, etc.
Menus
Your theme probably comes with a default navigation menu, but you may want to create a customized menu that consists of various posts, pages, categories or links outside of your blog. For more details on how to setup your menu, see the WordPress Codex site.
Editor
This is where you can manually edit the actual files of your WordPress theme. Say you want to edit the header of your WordPress blog. You would need to edit the header.php file to make these changes.
Note: Always make a backup of the code before editing and saving your files.
Plugins
Plugins are scripts that give your blog additional functionality. Let’s say you want a widget that will allow you to display your most commented posts on your blog’s sidebar.
You can click the Plugins tab and select “Add New.” In the search box type “most commented widget.” You should see a list of plugins. View the details and when you find one you want to install, select “Install Now.”
Now when you go to your Widgets area, you should see the “Most Commented” widget available for you to drag onto your blog sidebar.
I am using this widget on my blog. See the right-hand column. I labeled the widget “Most Popular.”
Note: Some plugins may require activation or recommend that you edit personal settings before they work properly. Many plugins automatically create new categories or subcategories in the left navigation of the WordPress Admin panel.
Plugins are a great way to enhance your blog. There are thousands of free plugins for you to choose from.
Users
WordPress allows you to create additional authors/contributors for your blog. This is where you go to create their account and set appropriate permissions.
Tools
You can export or import posts from this area. If you are moving from Blogger (or another platform) to WordPress and need to import your posts, click the “Import” link and follow the instructions.
If you are leaving WordPress and/or switching web hosts and need to export all your blog posts and comments, select the “Export” feature.
You may also find links to plugins you have installed in the Tools category.
Settings
This is a very important section of the WordPress Admin panel because you will set up basic information about your blog such as your blog title, description, link structure (permalinks) privacy settings, comment settings, and more.
Child Theme
A child theme inherits the functionality/framework of the original theme but allows you to modify and add your own custom elements.
It’s like making a copy of a theme and working from the backup. I highly recommend you consider this when working with WordPress. That way you preserve the original theme.
Read more about creating child themes here.
The StyleSheet
This is the most important file on your blog because it governs the design and various styles of your blog (link color, link size, font family, column widths, etc.) If you go to the Appearance tab of the WordPress Admin panel and select “Editor”, You should see a file called style.css over in the right column. This is your blog’s stylesheet.
To edit the stylesheet, you simply click on style.css. It will open up the file right inside WordPress.
Note: Before editing, I would strongly recommend copying and pasting the code into a text editor so you have a backup.
Editing Your Header
As you scroll through your stylesheet, you will probably see something like…
#header {
background-image:url('header.gif');
position: relative;
width: 900px;
}
Use the find feature (Control-F/Command-F) keystroke and search for the word header.
Your code probably won’t look exactly like this but there is more than likely a #header ID somewhere in the code. This tells the browser how to style your header. In the example above, the image called header.gif is what makes up the header of the blog.
So if you wanted to change the header you’d have to either…
1) Replace/overwrite it with a new image with the same name and size, or
2) Create a new image and edit the name of the image in the stylesheet
Here’s a more detailed tutorial on customizing your WordPress Header.
Adding Custom Code
If you want to customize your blog even further, check out the WordPress Codex site. They teach you how to manipulate WordPress code to display content in different ways.
For example, say you only want to display some of your categories and exclude a few. They show you what code you need to paste into your blog to make that happen.
Consider Using a Premium/Paid Theme
You may not like the idea of paying for a WordPress theme, but when it comes to designing, premium themes often provide the most beginner-friendly tools and support for editing your core design. Free themes are nice, but you have no support and the code is often buggy.
I use Genesis and this theme has a free plugin you can install that allows you to edit various sections of your design right inside the plugin. For example, if you want to add a banner below your blog content, you just paste the code for the banner in the appropriate box marked “After Blog Post” instead of digging through the PHP files in the Admin panel.
Plugins
Plugins can greatly enhance your blog. As I mentioned on the WordPress Admin overview page, to install a plugin, just go to the “Add New” link under the Plugins tab in the WordPress Admin panel. You can use the search function to locate plugins by keyword.
Note: Be careful not to go crazy with plugins because they can also slow down your page loading time.
I personally don’t like to have any more than 15 active plugins at any given time. Also, sometimes they can cause instability with your theme and will require you to troubleshoot by disabling them. This is another reason you should limit the amount you use.
Advantages and Disadvantages of WordPress
Advantages:
- Easy to set up. Most hosting provides one-click installs
- Many themes and plugins are available to build websites.
- No coding knowledge is required
- Easy to maintain. What I mean if you are a blogger using WordPress then you have to maintain it regularly so it should not be a problem.
- Can change the design easily by changing the theme.
Disadvantages:
- Have to update regularly to keep WordPress secure and for better performance.
- If you wish to customize some parts and if no options are available and you may have to update theme codings.
Hope this article helps!


Really appreciate you sharing this article.Really thank you!